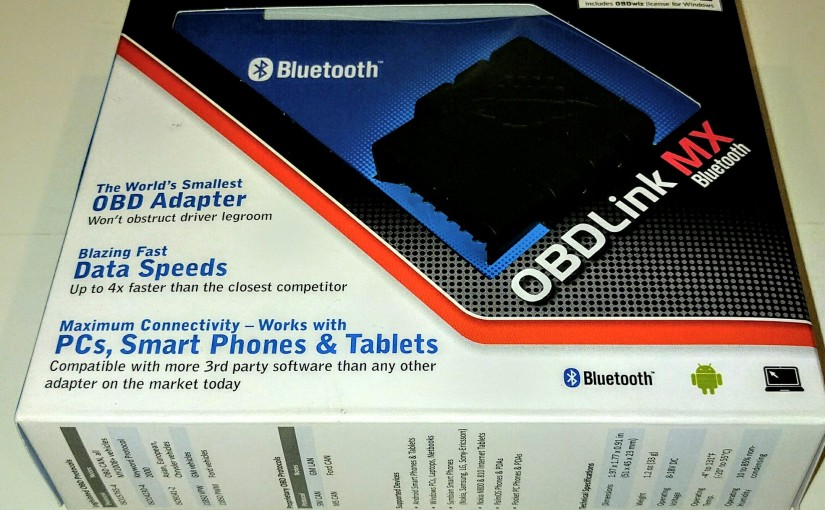
Fast forward to Saturday morning. My new MX Bluetooth showed up around 10.30am. I was ecstatic. Like a kid waiting by the mailbox for his x-ray specs to arrive.
Armed with the knowledge of all my purchase mistakes, blogs, forum threads, and datasheets, I jumped right in.
First step, image the pi and get the wireless setup. This was crazy easy and I didn’t need any directions, but for you, the reader, here are the directions to do it:
- https://www.raspberrypi.org/documentation/installation/installing-images/
- https://www.raspberrypi.org/documentation/configuration/wireless/
Next, I had to get the MX Bluetooth to connect to my Raspberry Pi. Bluetooth pairing should be straight forward right? Ha.
The first Raspberry Pi I tried was a Pi2 model B with Raspbian Weezy. I specifically picked the newest model due to the number of USB ports and the 500ma power rating per port. (DO NOT USE THE Pi B, Pi B+, Pi2 B, OR WHEEZY! more on this later. I had major stability issues with them all. Proceed if you’d like. If you figure out why they were unstable, please let me know.)
The first thing I tried was the built in GUI to try and pair this thing. The GUI wouldn’t even load, even with a supposed compatible Bluetooth adapter. Ugh… Ok, so how in the hell am I supposed to do this via terminal?
I knew how to use hcitool to pair when the device had a pin, but the MX Bluetooth doesn’t use a pin.
Thank-you stackoverflow: http://stackoverflow.com/questions/12888589/linux-command-line-howto-accept-pairing-for-bluetooth-device-without-pin
Even with the correct directions, I had to try pairing it three or four times until it finally worked…nothing can be easy.
The stackoverflow thread made mention of rfcomm to connect to the Bluetooth serial device, that was the next thing I needed to setup.
It was very straight forward. The man file had all the info I needed.
I needed to edit the file /etc/Bluetooth/rfcomm.conf as follows:
rfcomm0 {
bind yes;
device BL:UE:TO:OT:HA:DDRESS;
channel 1;
comment “MX Bluetooth”
}
(Quick note, I used “bind yes” initially, however, this turned out not to be the best method, more on this in a later post.)
MX Bluetooth paired- Done
MX Bluetooth mounted as a Bluetooth serial device- Done
Next step was picking a serial terminal. As I was still in the discovery phase of this project, I kept the GUI installed. So why torture myself? I used the awesome GUI serial terminal, CuteCom.
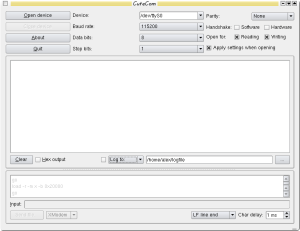
source: http://cutecom.sourceforge.net/
With CuteCom installed, I didn’t know the exact serial settings (the STN1100 command reference sheet I linked is not exactly the same as the STN1151 which is in the MX Bluetooth), so I made an educated guess and got it to connect first try.
115200, 8, N, 1
Sweet. I now have a serial terminal to manipulate the adapter directly.
I started my car (with the key…) and set a few commands I thought may be helpful:
- ATAL (Allow long messages, I wanted to see everything)
- ATH 1 (Turn message headers on, again, I want to see EVERYTHING)
I issued the STMA command and ERRORS! ERRORS EVERYWHERE!!! Oops. I forgot to set the adapter to GMLAN first.
I turned off STMA by hitting enter, literally hitting any number/letter, and hitting enter again.
The MX Protocol Commands only had 4 SW CAN settings. I set the first one by issuing:
STP 61
Issued STMA again and BINGO, sweet, sweet data. Loads of hex codes went flying by. Fast, like really fast. Like 1000 lines in a few seconds fast. What in the hell was I going to do with all of this information now when 99.99999% of it is useless for my goal?